
Hi, In this post i will show you, How we can add watermark on Image, That water mark can be a text or can be an Image , That can be your logo too.
First you should understand why watermark is required on Image?
A watermark is designed to do a few things. First and foremost, it can make your images harder to steal or less desirable for thieves. Watermarks are also useful for promoting your work by branding your photo with a logo that is easily recognized as your own.
Believe it or not, watermarks are pretty controversial in the world of photography, with some photographers believing that they are incredibly useful and others considering them to be a waste of time and a distraction from the photo itself. Read More
Now we will do in below steps..
Step 1. Install Laravel
Step 2. Install Required Package
Step 3. Create Controller and View
Step 4. Create route
Step 5. Run the program and test
Step 1. Install Laravel
I will install Laravel using below command.
composer create-project --prefer-dist laravel/laravel ImageWatermark
Step 2. Install Required Package
I will use PHP intervention image library into my project. We will install this using the below command.
composer require intervention/image
Step 3. Create Controller and View
Here i will create controller and View file for this project. Controller will contains Image Upload as Water mark add.
For creating a controller use the below command .
php artisan make:controller ImageController
Now a new controller is created please add the below code
use Image;
use Storage;

class ImageController extends Controller
{
    public function index()
    {
        return view('welcome');
    }

    public function imageFileUpload(Request $request)
    {
        $this->validate($request, [
            'file' => 'required|image|mimes:jpg,jpeg,png,gif,svg|max:4096',
        ]);

        Storage::disk('local')->makeDirectory('image/');

        $image = $request->file('file');
        $input['file'] = time().'.'.$image->getClientOriginalExtension();
        $imgFile = Image::make($image->getRealPath());
        $imgFile->text('2022 readytocode.net', 230, 200, function($font) {
            $font->size(55);
            $font->color('#ffffff');
            $font->align('center');
            $font->valign('bottom');
            $font->angle(90);
        })->save(storage_path('app/image').'/'.$input['file']);

        return back()
        	->with('success','File successfully uploaded.');
    }
}
Now our controller is done. But if you want to add a image/logo at watermark use the below inside the ImageFileUpload function.
$imgFile->insert('https://www.google.com/logos/doodles/2022/national-voter-registration-day-2022-6753651837109818-s.png', 'bottom-right', 10, 10);Now your ImageFileUpload will looks like below code.
public function imageFileUpload(Request $request)
    {
        $this->validate($request, [
            'file' => 'required|image|mimes:jpg,jpeg,png,gif,svg|max:4096',
        ]);

        Storage::disk('local')->makeDirectory('image/');

        $image = $request->file('file');
        $input['file'] = time().'.'.$image->getClientOriginalExtension();
        $imgFile = Image::make($image->getRealPath());

        $imgFile->insert('https://www.google.com/logos/doodles/2022/national-voter-registration-day-2022-6753651837109818-s.png', 'bottom-right', 10, 10);
        return back()
        	->with('success','File successfully uploaded.');
    }
Now we will create a view , from where we will upload an image. Here i am change my existing blade file. That is welcome.blade.php. Copy the below code and change your file.
<!DOCTYPE html>
<html>
<head>
<meta charset="utf-8">
<meta name="viewport" content="width=device-width, initial-scale=1">
<link href="https://cdn.jsdelivr.net/npm/[email protected]/dist/css/bootstrap.min.css" rel="stylesheet">
<title>Laravel Image Watermark</title>
</head>
<body>
<div class="container mt-4" style="max-width: 600px">
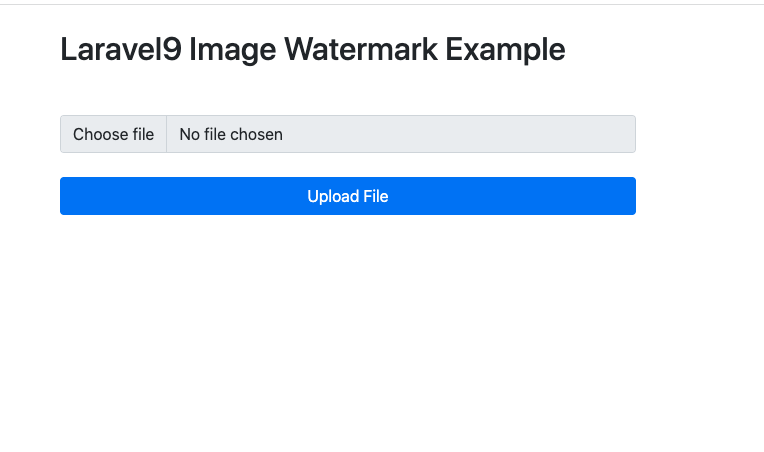
<h2 class="mb-5">Laravel9 Image Watermark Example</h2>
<form action="/add-watermark" enctype="multipart/form-data" method="post">
@csrf
@if ($message = Session::get('success'))
<div class="alert alert-success">
<strong>{{ $message }}</strong>
</div>
<div class="col-md-12 mb-3 text-center">
<strong>Manipulated image:</strong><br />
</div>
@endif
@if (count($errors) > 0)
<div class="alert alert-danger">
<ul>
@foreach ($errors->all() as $error)
<li>{{ $error }}</li>
@endforeach
</ul>
</div>
@endif
<div class="mb-3">
<input type="file" name="file" class="form-control" id="formFile">
</div>
<div class="d-grid mt-4">
<button type="submit" name="submit" class="btn btn-primary">
Upload File
</button>
</div>
</form>
</div>
</body>
</html>Note- We are using storage to don’t forget to link storage using below command.
php artisan storage:link
Step 4. Create route
Create route, for image upload view and upload.
use App\Http\Controllers\ImageController;

Route::get('/file-upload', [ImageController::class, 'index']);
Route::post('/add-watermark', [ImageController::class, 'imageFileUpload']);
Step 5. Run the program and test
Run your app by
php artisan serv
Now open the browser and hit http://127.0.0.1:8000/file-upload
Will look similar to below image.
And if you check your directory where your file is uploaded , Will see a water mark link below image.
With Text:

With Image:

Thanks for Reading. Happy Coding..
We are Recommending you
Laravel 9- Crop Image and Upload to S3
Summernote Editor With Image Upload in Laravel
Laravel 9 send mail using SMTP
404 Not Found The requested URL was not found on this server
Laravel 9 Upload Zip and Extract on server
Laravel 9 – How to Get User Country, City, ZIP from IP
How to add custom error page in Laravel 9
Laravel 9 : Deploy a project on Amazon AWS
2 Comments
Top site ,.. amazaing post ! Just keep the work on !
Awesomee article.