
Hello Developers, In this post i will show you “How we can deploy a Laravel app on AWS“.
This post will covers:
- AWS Setup
- Install PHP 8 and its extension, Ngnix
- Project deployment
- Domain Mapping
Step 1. AWS Setup
Before We Begin
I assumed that you have aws account. if not then please register first.
A. Login to your AWS console.
B. On top search EC2 .
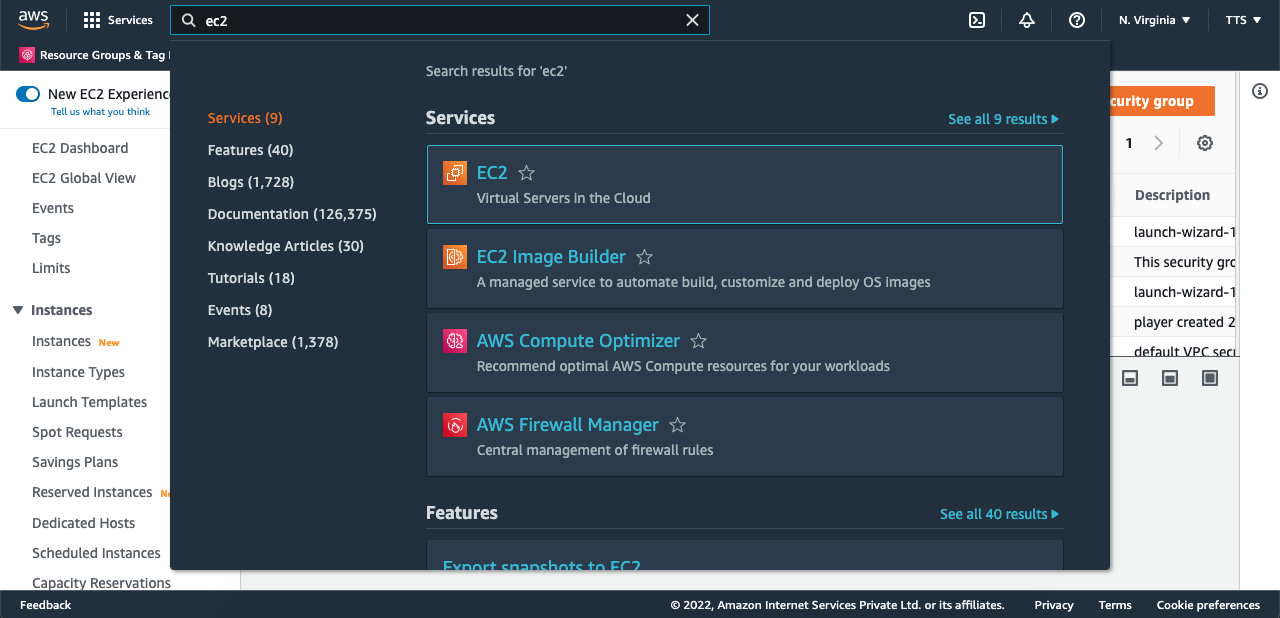
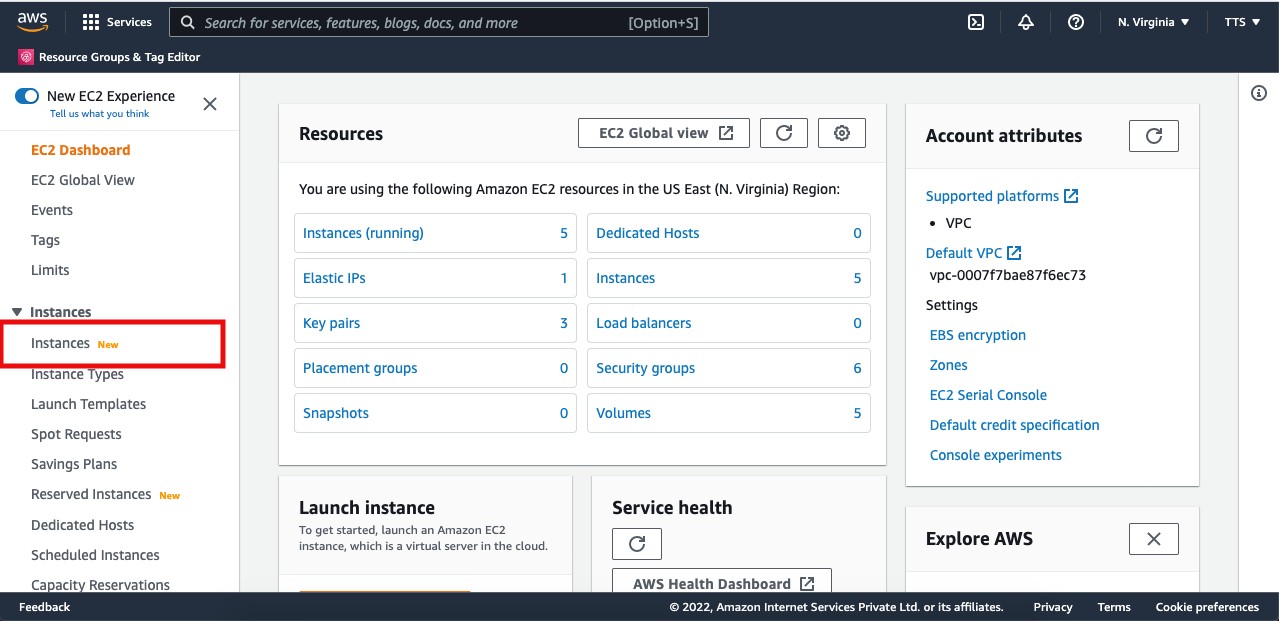
C. EC2 Dashboard will appear.
D. Left Side menu there is Instances click on that.
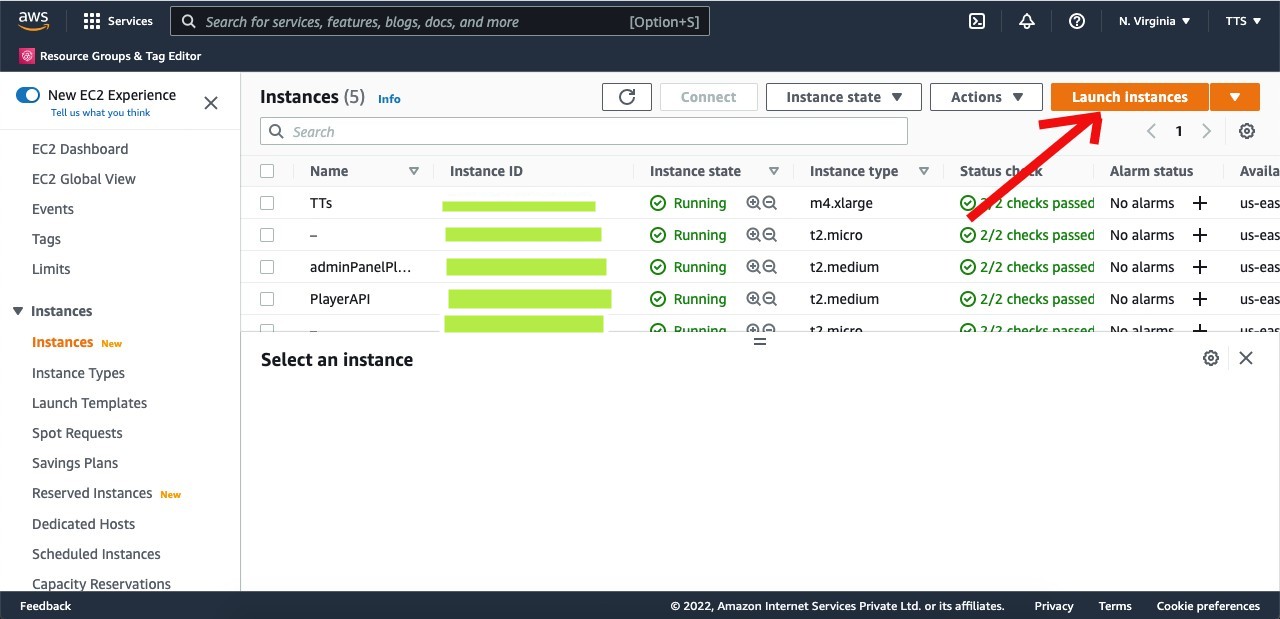
E. A New window will open , click on Launch instances button at right top.
F. A new Window will open, Fill the all details which are required. Name and tags is just for identification for your server.
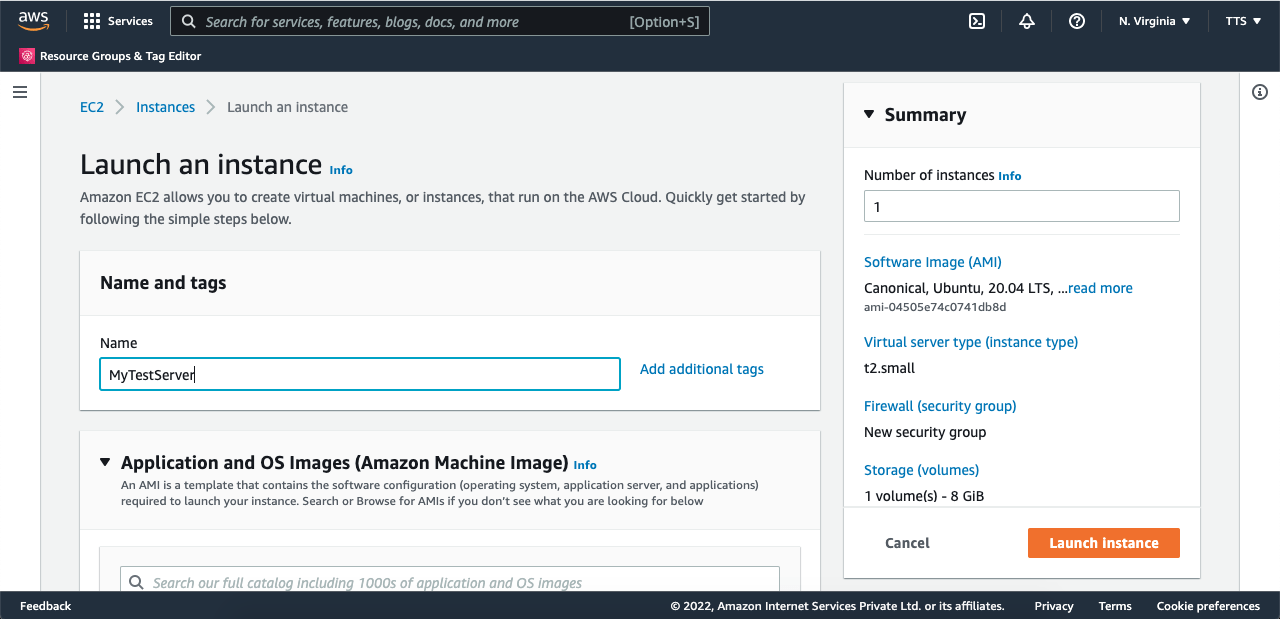
G. Choose the Operating system which you want to install, I will choose Ubuntu20.04.
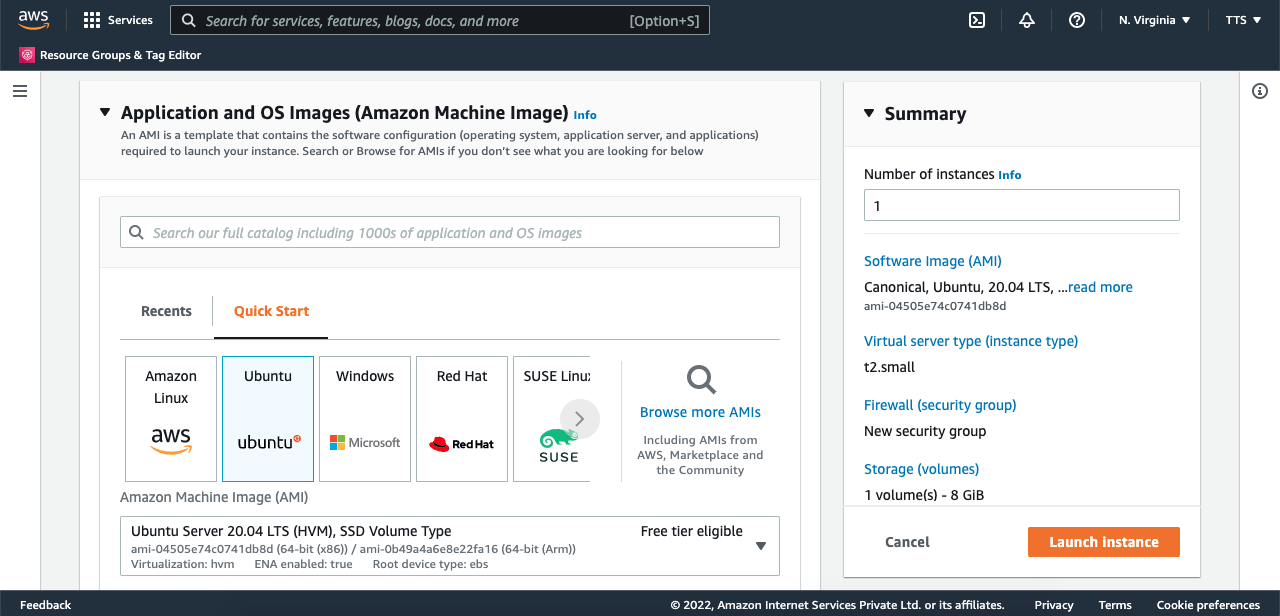
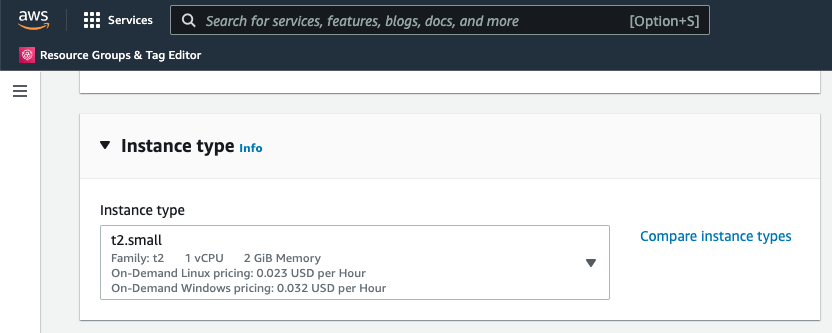
H. Choose Instance Type , For Laravel9 smooth process choose at least 2 GB of Ram, You have to use composer then this will be best suite. I am choosing t2.small.
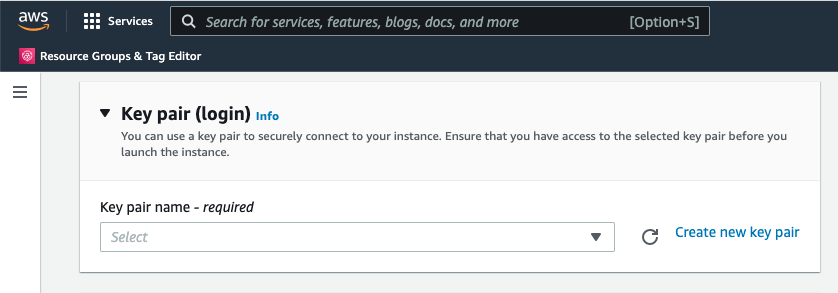
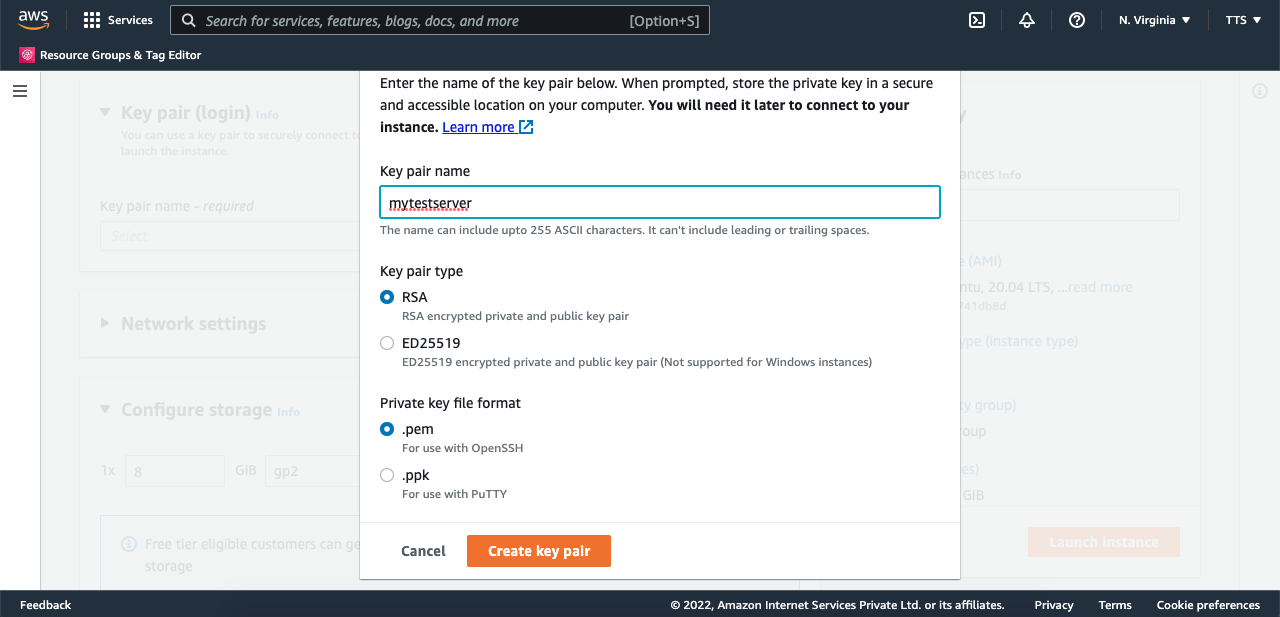
I. Next step is to login info, Here we have to create key, will will required when we access our system via SSH or putty. Click on Create new key pair, a popup will appear , just put the name a file will download, keep that safely. This file will require when we access out system from terminal.
Click on Create key pair and download the fille like below image.
J. Next step is to Network settings, choose ssh to My IP, rest are as image below.

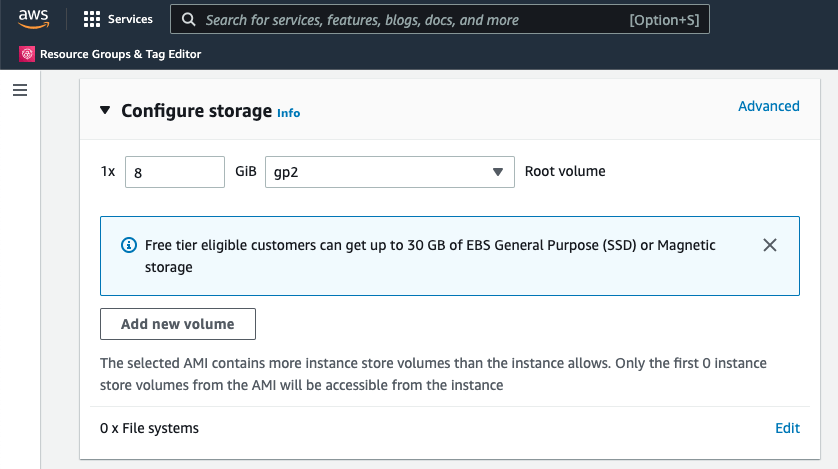
K. Next step is Configure storage leave as it is, it is required when our project size is huge.
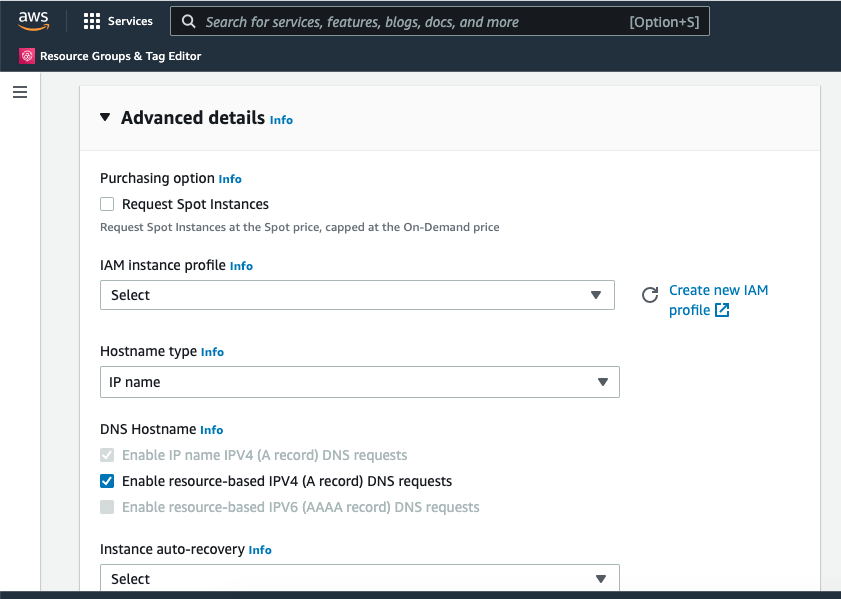
L. Next step is Advanced details leave it .
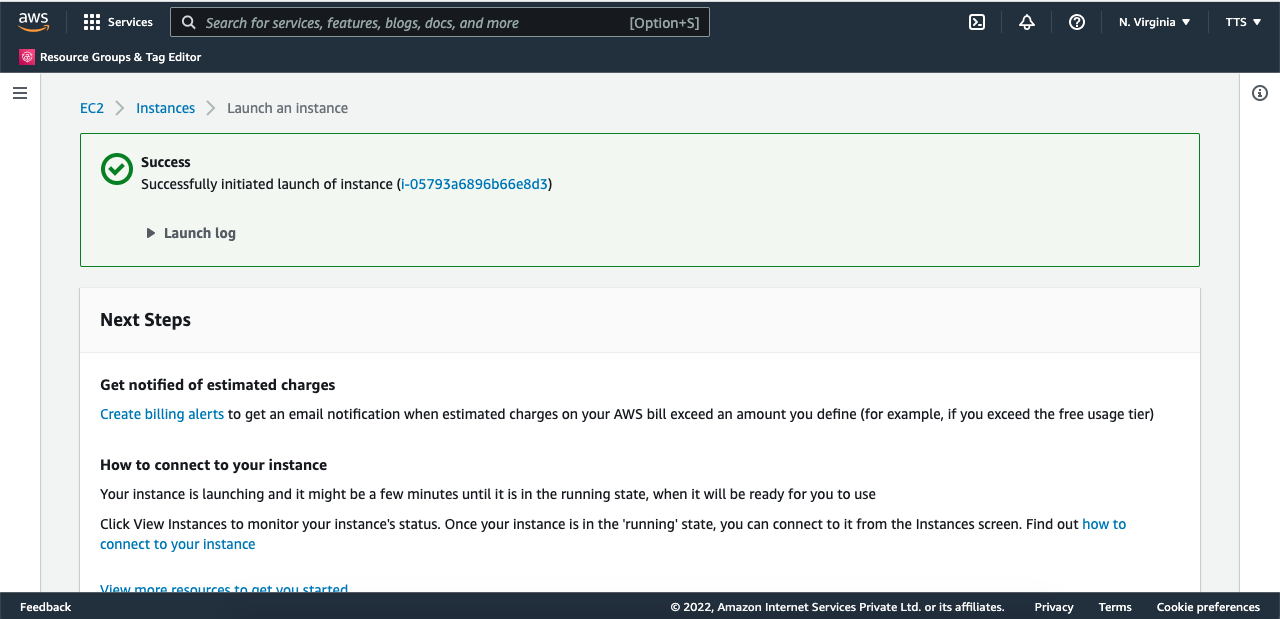
M. Now click on Lunch instance “Number of instance” must be 1.
after clicking this will show lunching and boom.
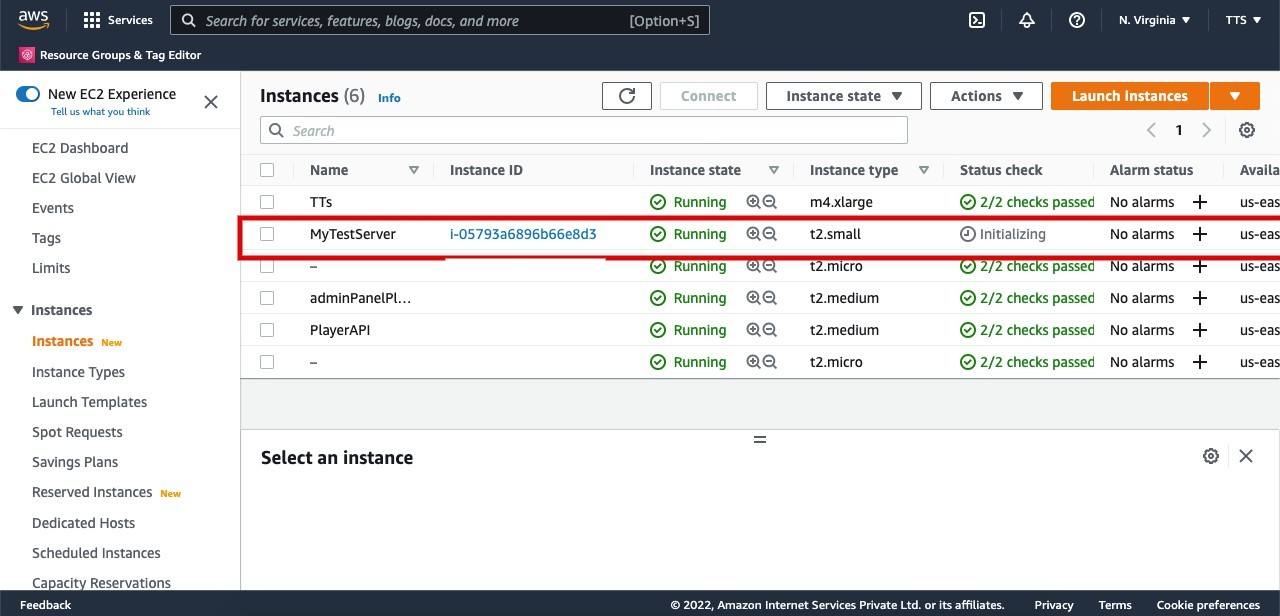
Goto your instance , you will find your instance is there in my case my instance name is MyTestServer.
N. Now we have to connect with SSH, Click on server then click on connect button on top.
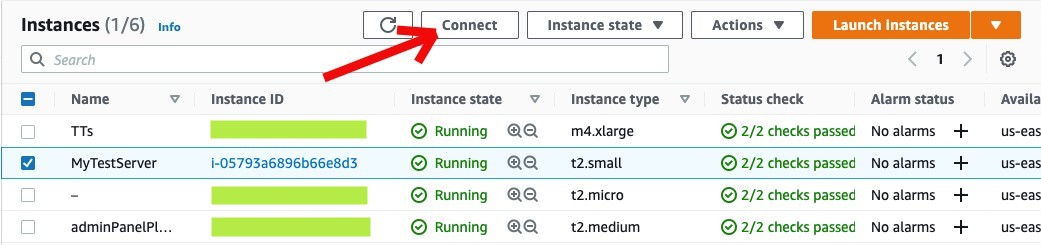
I new window will open with tabs, choose SSH Client, Then next process is written below, i will show you from my terminal.
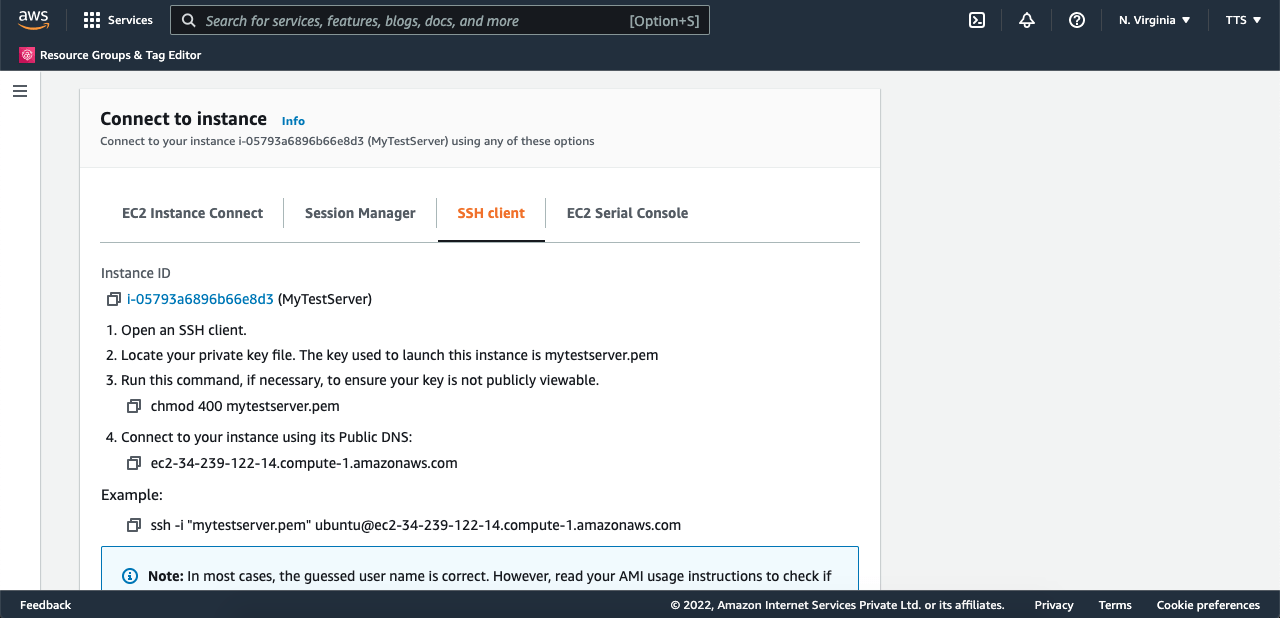
O. Connect server from Terminal. First open terminal and change file permission as given on above image step 3.
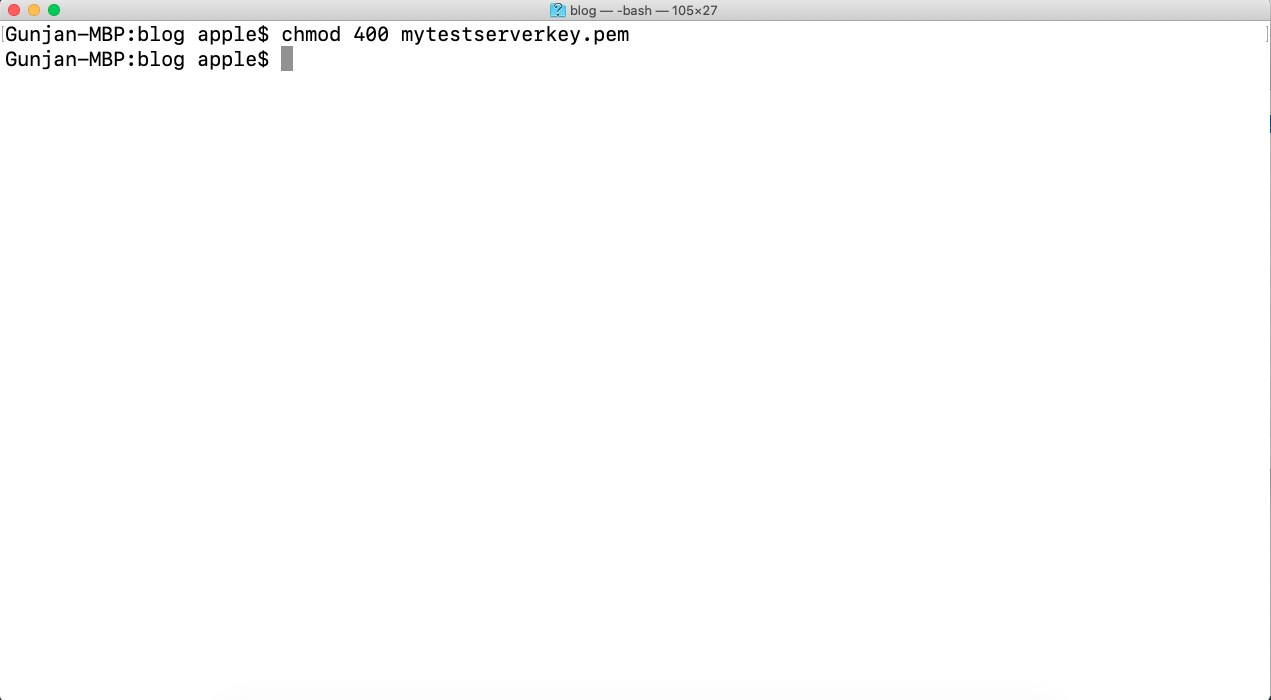
Now connect to server, copy this like below image make sure your key file name is same or change the keyname which you written or rename your key file name. In my case key name is other so i will change.

Pest this on your terminal and hit enter.

Type Yes and hit enter.

Now it will get ready to connect and will appear like below image.

Now you are inside your system.
Step 1 is completed.
Step 2. Install (PHP 8 and its extension), Ngnix
A. Install Ngnix
$ sudo apt update && sudo apt upgrade
Above command will update your ubuntu. One time it will ask you Y/N press Y and hit enter.
Once done then type/Copy Pest below command
$ sudo apt install nginx

Press Y and hit enter
It will complete your ngnix installation. then run below command.
$ sudo ufw allow 80/tcp
$ sudo ufw allow 43/tcp
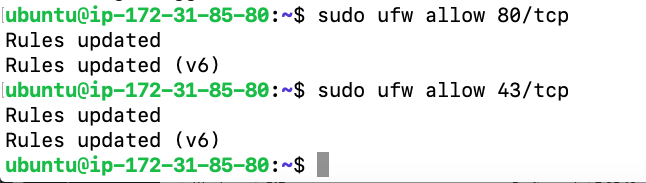
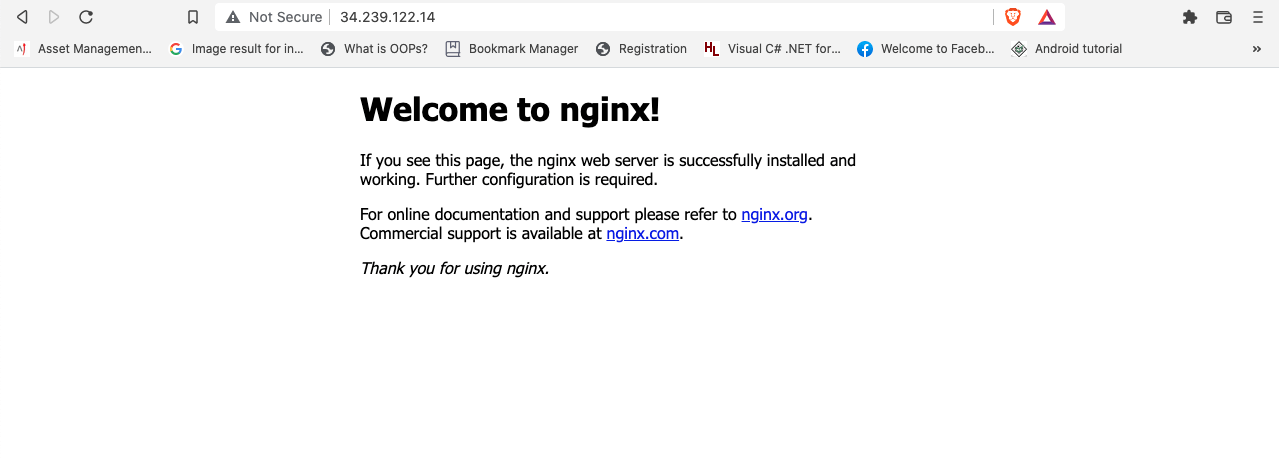
Now run your public ip and check is the Ngnix welcome page is showing, if yes then okey Great Ngnix install successfully.
Where you will find your public ip check below image. Go to your AWS instances and find.
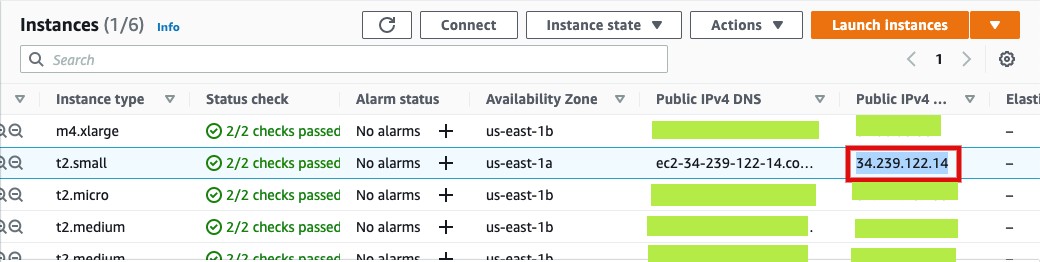
Open this ip in your browser and check. You will get this output as below image if you process with all steps.
B.Install PHP
Follow the below command ,if you want to go deeply use this link.
$ sudo add-apt-repository ppa:ondrej/php
$ sudo apt install php8.1
$ sudo apt install php8.1-fpm
PHP and PHP fpm is installed , Now we will install PHP extensions.
$ sudo apt install php8.1-mysql php8.1-curl php8.1-xml
$ sudo apt install openssl php-common php-curl php-json php-mbstring php-mysql php-xml php-zip
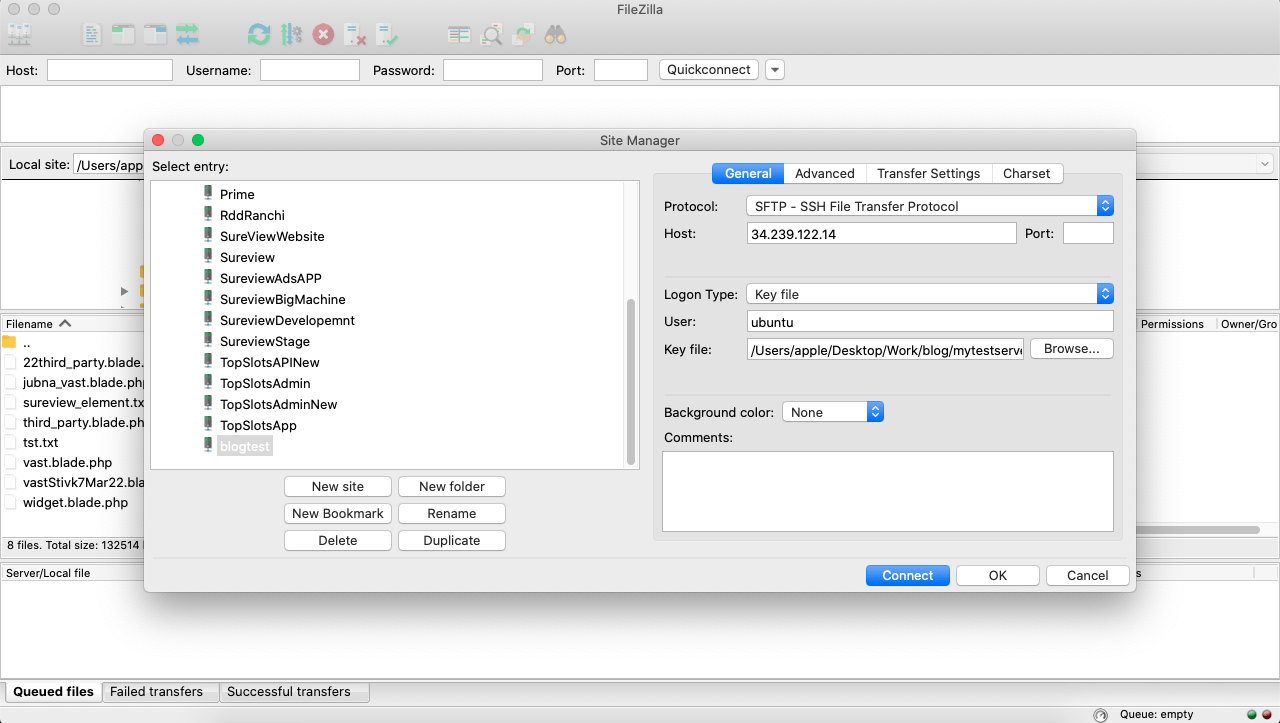
Now we will connect through FileZila to get access of file. Host will be your public IP.
Our all file will be placed in side “/var/www/html“. But you can check not updating or any operation performing m due to root user, i Logged in through ubuntu user and access file of root user, in this case we have to change user access.
$ sudo chown ubuntu:ubuntu /var/www/html/*
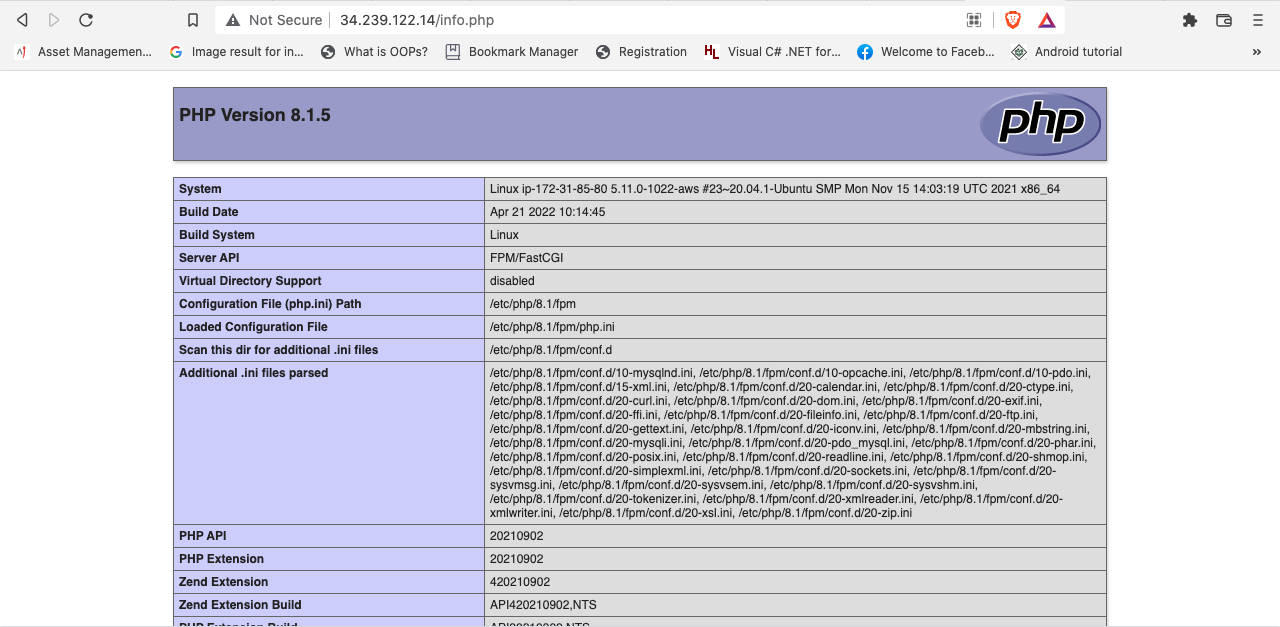
Now create a file and put a small php code like below code and try to run from browser.
“info.php”
<?php
phpinfo();
?>
if you will run, it will download because PHP FPM is not configure for our linux, to execute PHP code we have to change a bit.
We have to change the permission first.
$ sudo chown ubuntu:ubuntu /etc/nginx/sites-available/default
And change /etc/nginx/sites-available/default , the below section.
location ~ \.php$ {
        include snippets/fastcgi-php.conf;

        # With php-fpm (or other unix sockets):
        fastcgi_pass unix:/run/php/php8.1-fpm.sock;
        # With php-cgi (or other tcp sockets):
    }
and then restart ngnix.
$ sudo systemctl reload nginx
Now you can check the Output
Step 3. Project deployment
For project deployment we can use Git and FTP , I will guide you from Git in next post, Here i will upload a laravel project from FTP.
Select all file and upload to “/var/www/html” do not select vendor folder, that will takes more time.

Now all uploaded , but our Laravel run from public directory so we have to change in /etc/nginx/sites-available/default
root /var/www/html/public/;
again restart ngnix
$ sudo systemctl reload nginx
Lets complete the Laravel. Install composer first then laravel dependency
$ sudo apt install composer
$ composer install
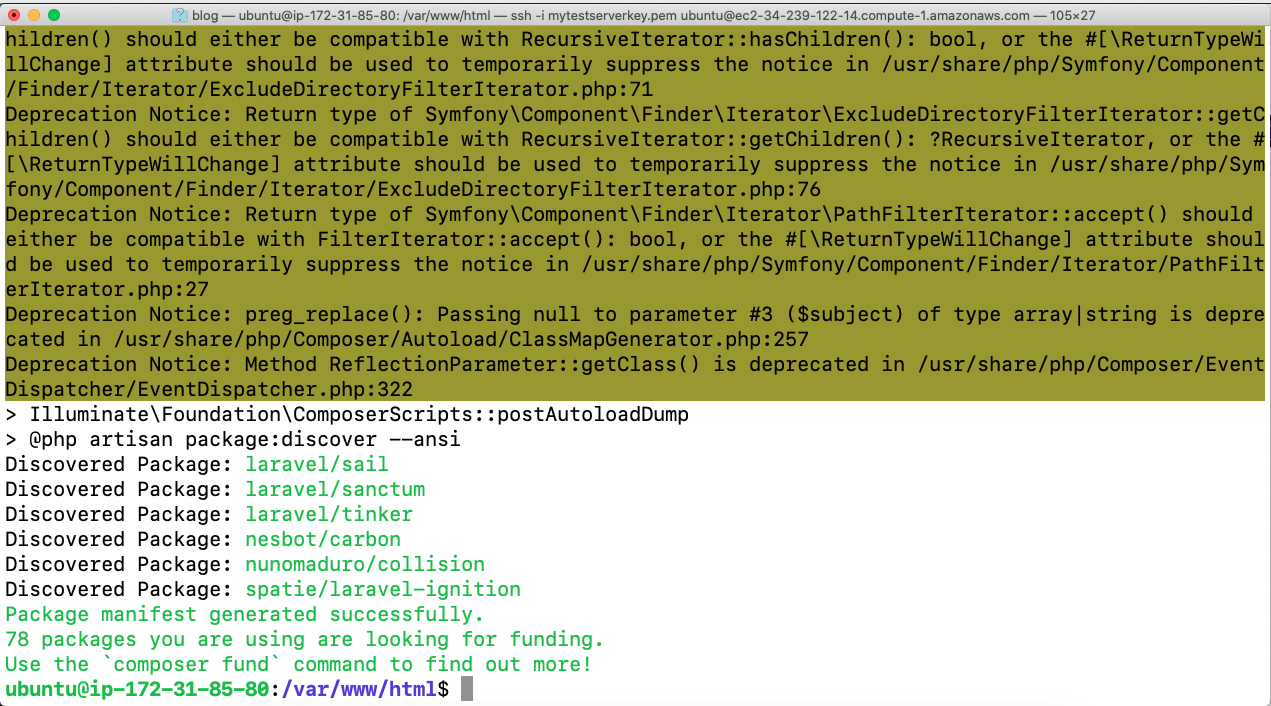
Now allow storage folder for laravel logs
$ sudo chmod -R 777 storage
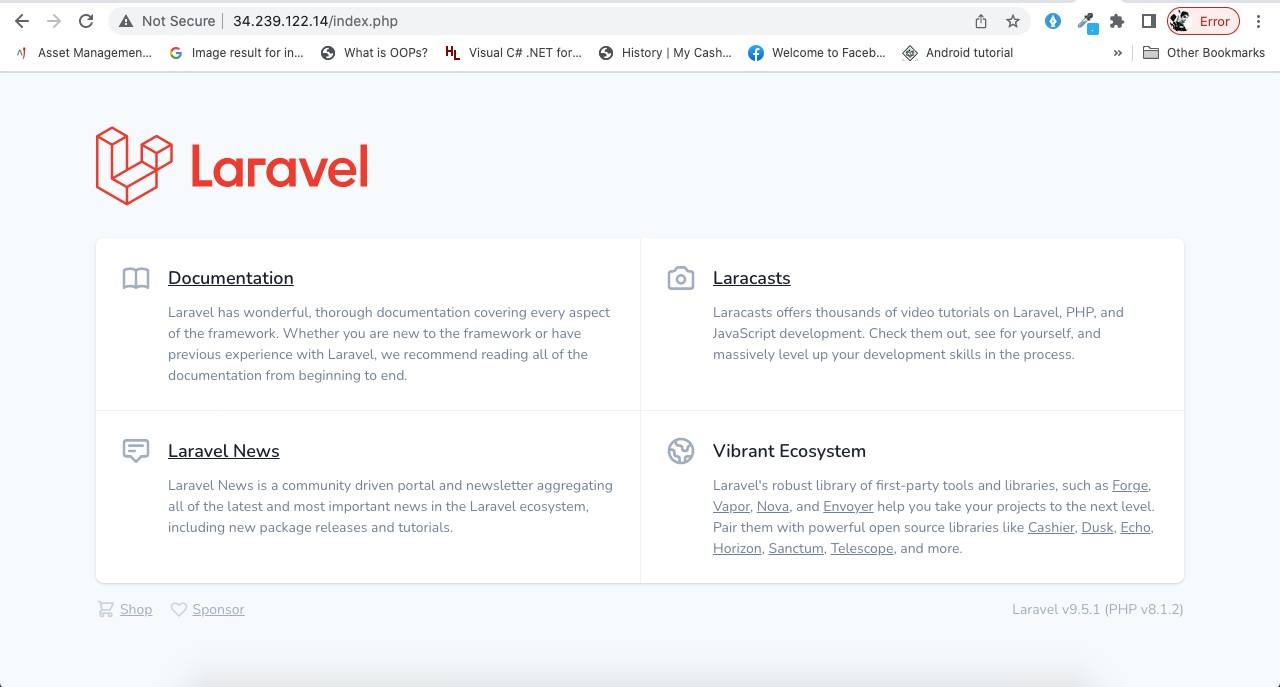
Then run your public Ip and test.
Step 3. Domain Mapping
Open your domain register company dashboard and goto manage DNS and add cname like below image.
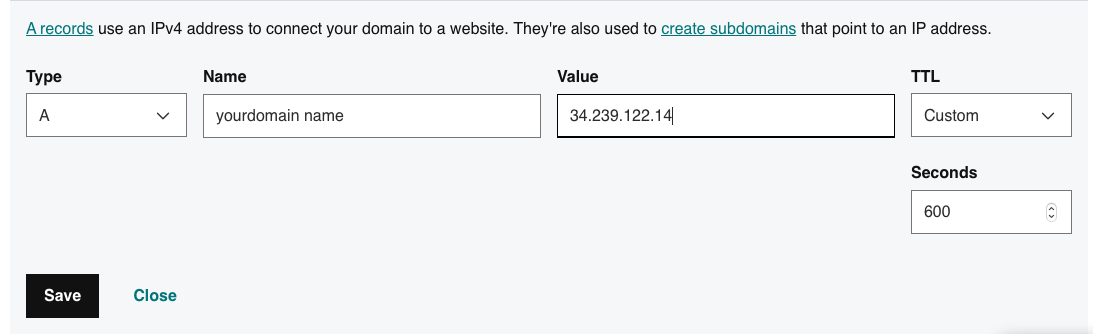
After few minute you can access this website from Domain.
Thanks for reading,
Happy Coding.