
Hello , Today i will show you how we will use a WYSIWYG Text Editor. In this post i will use Summernote editor, With installation and Image Upload.
I hope if you are searching for WYSIWYG Text Editor, then you all know Laravel installation and a basic of laravel.
I will create a form , That form save data to database and at last i will show you data on HTML.
Step 1. Create a blade file for Form.
<html lang="{{ str_replace('_', '-', app()->getLocale()) }}">
<head>
    <meta charset="utf-8">
    <meta name="viewport" content="width=device-width, initial-scale=1">
    <title>Laravel Summernote Editor Example</title>
    <!-- include libraries(jQuery, bootstrap) -->
    <link rel="stylesheet" href="https://stackpath.bootstrapcdn.com/bootstrap/4.5.0/css/bootstrap.min.css">
    <script src="https://code.jquery.com/jquery-3.5.1.slim.min.js"></script>

    <script src="https://cdn.jsdelivr.net/npm/[email protected]/dist/umd/popper.min.js"></script>
    <script src="https://stackpath.bootstrapcdn.com/bootstrap/4.5.0/js/bootstrap.min.js"></script>
</head>
<body>
    <div class="container">
        <div class="row">
            <div class="col-md-7 offset-3 mt-4">
                <div class="card-body">
                    <form method=post action="\data">
                        @csrf
                        <div class="form-group">
                            <input class="form-control" type="text" placeholder="Title" name="title"/>
                        </div>
                        <div class="form-group">
                            <textarea class="form-control" name="summernote" id="summernote"></textarea>
                        </div>
                        <button type=”submit” class="btn btn-danger btn-block">Save</button>
                    </form>

                </div>
            </div>
        </div>
    </div>
</body>
<!-- summernote css/js -->
<link href="https://cdn.jsdelivr.net/npm/[email protected]/dist/summernote-bs4.min.css" rel="stylesheet">
<script src="https://cdn.jsdelivr.net/npm/[email protected]/dist/summernote-bs4.min.js"></script>
<script type="text/javascript">
    $('#summernote').summernote({
        height: 400
    });
</script>
</html>
Now , Create a view file to check is the data is showing/saving properly in database.
<html lang="{{ str_replace('_', '-', app()->getLocale()) }}">
<head>
    <meta charset="utf-8">
    <meta name="viewport" content="width=device-width, initial-scale=1">
    <title>Laravel Summernote Editor Example</title>
    <!-- include libraries(jQuery, bootstrap) -->
    <link rel="stylesheet" href="https://stackpath.bootstrapcdn.com/bootstrap/4.5.0/css/bootstrap.min.css">
    <script src="https://code.jquery.com/jquery-3.5.1.slim.min.js"></script>

    <script src="https://cdn.jsdelivr.net/npm/[email protected]/dist/umd/popper.min.js"></script>
    <script src="https://stackpath.bootstrapcdn.com/bootstrap/4.5.0/js/bootstrap.min.js"></script>
</head>
<body>
    <div class="container">
        <div class="row">
            <div class="col-md-7 offset-3 mt-4">
                <div class="card-body">
                    <h1>{{$data->post_title}}</h1>
                    {!!$data->post_text!!}
                </div>
            </div>
        </div>
    </div>
</body>
</html>
Step 2. Create a controller and Model.
php artisan make:controller Editor
And copy the below code and pest in your controller .
<?php

namespace App\Http\Controllers;

use Illuminate\Http\Request;
use App\Models\EditorModel;

class Editor extends Controller
{
    public function index(){
        return view('editor');
    }

    public function form_data(Request $req){
        $model=new EditorModel;
        $model->post_title=$req->title;
        $model->post_text=$req->summernote;
        $model->save();
    }

    public function view($id=1){
        $data['data']=EditorModel::find($id);
        return view('view_post',$data);
    }
}
And now model.
php artisan make:model EditorModel
Now my model is like below
<?php

namespace App\Models;

use Illuminate\Database\Eloquent\Factories\HasFactory;
use Illuminate\Database\Eloquent\Model;

class EditorModel extends Model
{
    protected $table = 'post';
    protected $primaryKey = 'post_id';
    public $timestamps = false;
    use HasFactory;
}
also i am giving you my post table structure , that will help you to get better understanding.
CREATE TABLE `post` (
  `post_id` int(11) NOT NULL,
  `post_title` varchar(255) NOT NULL,
  `post_text` longtext NOT NULL,
  `post_date` date NOT NULL DEFAULT current_timestamp()
) ENGINE=InnoDB DEFAULT CHARSET=utf8mb4;
Step 3. Define Routes.
use App\Http\Controllers\Editor;

Route::get('/form',[Editor::class,'index']);
Route::POST('/data',[Editor::class,'form_data']);
Route::get('/view/{id}',[Editor::class,'view']);
Step 4. Test and Run.
php artisan serv
And in browser open the below URL.
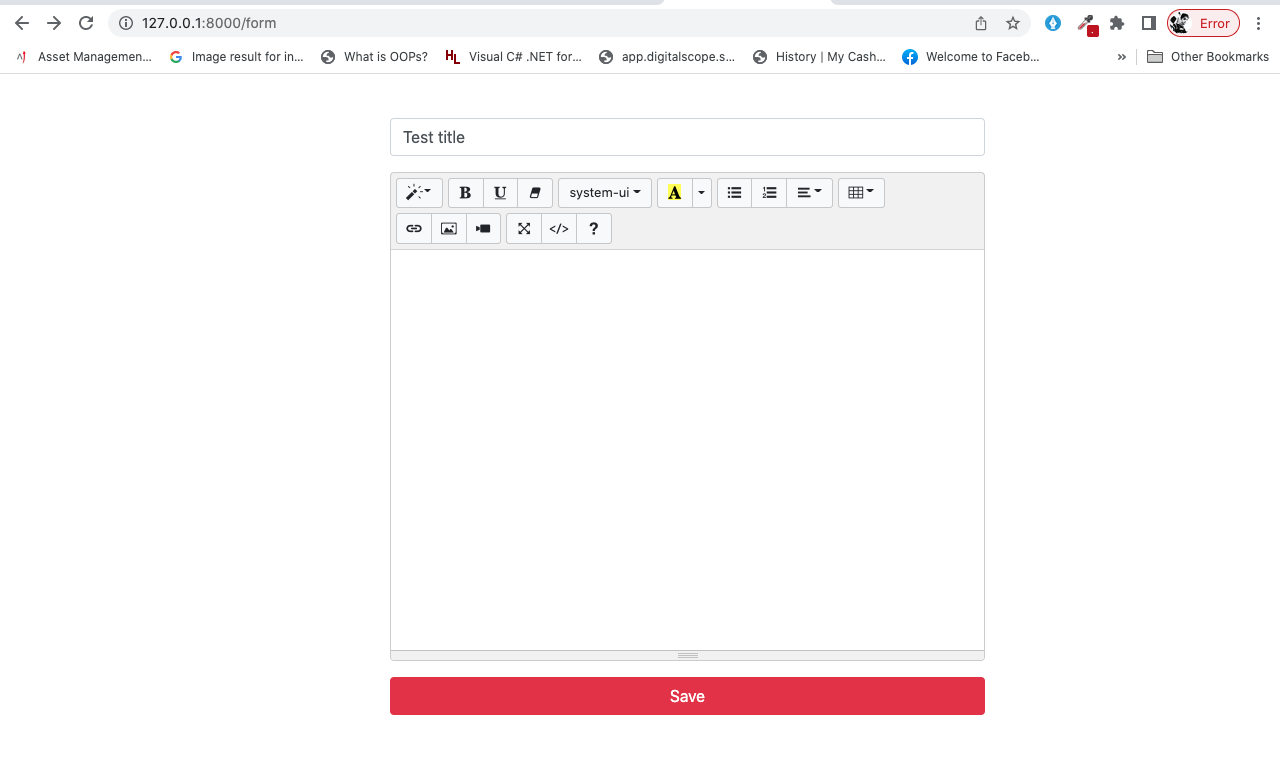
http://127.0.0.1:8000/form
Output will be similar to this image
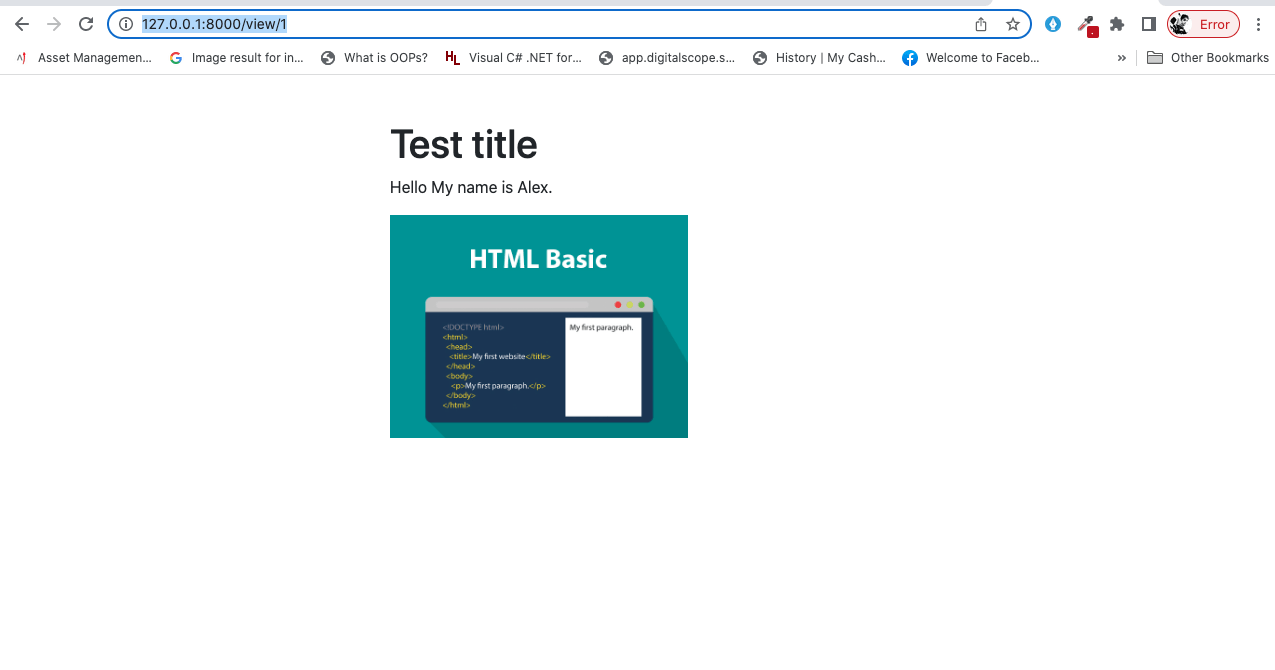
Now save the data and check using below URL.
http://127.0.0.1:8000/view/1
And the output will be like below.
 Now i get my result, and i hope this will help you. Thanks for Reading. Happy Coding.
If you are looking for CKeditor Install and Image upload please check ,
Laravel 9 : Deploy a project on Amazon AWS
Laravel 9 send mail using SMTP