Hello, This is post i will install Apache PHP and Mysql on Ubuntu, You can also install Ngnix , PHP and Mysql. Both are same with some differences-
Difference between Apache and Nginx
| Apache | Nginx |
| Apache is an open source | Nginx is also Open Source |
| Apache can be installed on Unix, Linux, Windows and Solaris platforms. | Nginx can be installed on Unix like systems, and does not support Windows. |
| Apache was developed by Apache group, released on 25 March 1999. | Nginx was developed by Nginx.inc, released on 4 october 2004. |
| Apache is designed for web server. | Nginx designed for proxy server as well as web server. |
| Apache, in heavy web traffic, it cannot support multiple requests. | Nginx can support multiple client requests with limited hardware resources. |
| Apache follows Multi-Threaded approach to process client requests. | Nginx follows Event-Driven approach to process client requests. |
| Apache performance for static content is lower than that of Nginx. | Nginx performance for static content is two times faster than Apache. |
Now coming on our post title “Install Linux, Apache, PHP and MySQL on Ubuntu 20.04”.
Step 1. Install Apache
Firstly update the package manager.
$ sudo apt update
Then, install Apache
$ sudo apt install apache2
When it will ask for installation press Y and then hit enter.
Installation is finished, Now i will update the firewall.
$ sudo ufw allow in "Apache"
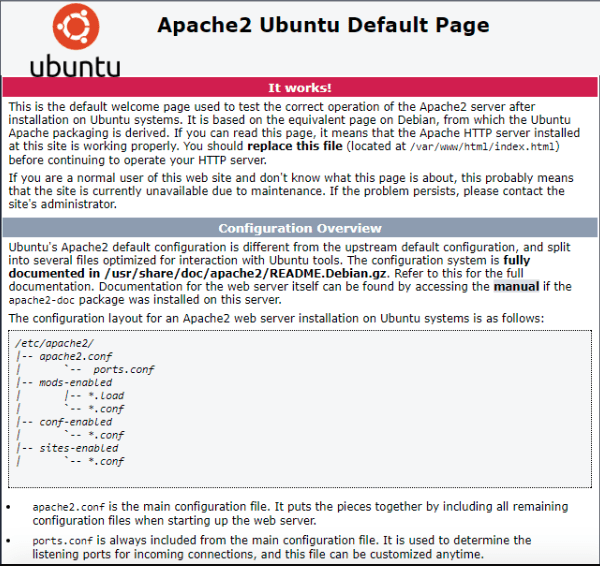
Now run your server with your i will you will see default apache page.

Now question is how we can start, stop and restart apache.
How to start apache?
$ sudo systemctl start apache2
How to stop apache?
$ sudo systemctl stop apache2
How to restart apache?
$ sudo systemctl restart apache2
At last one more question how to check apache status?
$ sudo systemctl status apache2
Step 2. Install PHP
$ sudo add-apt-repository ppa:ondrej/php
I am installing latest php version, this time latest is 8.1
$ sudo apt install php8.1
$ sudo apt install php8.1-fpm
$ sudo apt install php8.1-mysql php8.1-curl php8.1-xml
$ sudo apt install openssl php-common php-curl php-json php-mbstring php-mysql php-xml php-zip
All extension is also installed which are required for Latest Laravel.
Step 3. Install MySql
$ sudo apt install mysql-server
When prompted confirm installation by typing Y and hit ENTER.
Now installation is completed, We will now secure our mysql.
$ sudo mysql_secure_installation
VALIDATE PASSWORD PLUGIN can be used to test passwords and improve security. It checks the strength of password and allows the users to set only those passwords which are secure enough. Would you like to setup VALIDATE PASSWORD plugin? Press y|Y for Yes, any other key for No:
Press Y and hit ENTER.
There are three levels of password validation policy:
LOW Length >= 8
MEDIUM Length >= 8, numeric, mixed case, and special characters
STRONG Length >= 8, numeric, mixed case, special characters and dictionary file
Please enter 0 = LOW, 1 = MEDIUM and 2 = STRONG: 1
You can tye any 0, 1 and 2 and hit ENTER.
type your password and now press Y and hit ENTER on every prompt.
When you’re finished, Check installation with below code.
$ sudo mysql
Now you will see MySQL console.
Now all are installed on your system you can use it.
if you want to install Ngnix please read below post.
Happy Codeing.

1 Comment
This is my first time pay a visit at here and i am really impressed to read all
at alone place.